
How to Arrange Olives and Nuts on a Wooden Board

Quick Summary
To arrange olives nuts on a wooden board, give each its own bowl placed on opposite corners, so brine and moisture stay away from the nuts, crackers and cheese. Drain and pat the olives dry, leave a little headroom in each bowl, and fan the cheese and meat outward from the bowls.
Place the olive bowl and nut bowl on opposite corners, never adjacent or in the center.
Use a ramekin or small bowl with a lip for olives, since brine would stain the wood.
Drain olives into a colander for five minutes, then pat them dry on paper towels.
Keep at least one inch of clear board between the olive bowl and any cheese.
Plan one bowl of olives and one of nuts per 8 to 10 guests.
Table of Contents
Why Olives and Nuts Need Their Own Spots on the Board
Olives and nuts look like an easy add-on, but they cause the most trouble on a serving board. Olives release brine. Nuts soak up moisture and go stale fast. To keep your board fresh for the whole party, arrange olives nuts in their own spots rather than mixing them with everything else.
Most people pile everything into one area. The result is soggy crackers, oily cheese, and nuts that taste like pickle juice. Giving olives and nuts their own bowls or zones solves this.
Brine stays contained instead of spreading onto cheese and bread
Nuts stay crunchy instead of picking up moisture
Guests can reach each item without digging through the rest of the spread
Choosing the Right Board and Bowls for Olives and Nuts
A wooden board works well for a party spread, but olives need a small container. Pick a board large enough to hold the main items with room to spare.
For olives, a small ceramic ramekin or glass bowl with a lip keeps brine off the wood. Plain wood can stain or absorb liquid, so a container is the safer choice. For nuts, a shallow bowl or small dish works well.
Ramekins or small bowls: Best for olives, since they hold brine
Shallow dishes: Good for nuts, easy for guests to scoop
Wooden board: Best for cheese, meat, and crackers
We recommend browsing our cutting boards to find a size that fits your table.
Step-by-Step: How to Arrange Olives and Nuts on Your Board
Work from the outside in, and treat the olive bowl and nut bowl as anchors rather than afterthoughts. The order below keeps brine away from dry goods and gives the board a deliberate structure instead of a random scatter.

Map the board before you place anything. Set the empty board on the table and mentally divide it into a 3-by-3 grid. Place the olive bowl and nut bowl on two opposite corners of that grid, never adjacent, never in the center. Opposite corners force guests to move around the board and keep the two wettest, oiliest items apart.
Set your bowls first. Place the olive ramekin and nut bowl on the board. Keep each bowl at least 2 inches from the board edge so there is room to fan food around it. A 3- to 4-inch ramekin is the right size for a 16-inch board; anything wider than 5 inches will crowd out the cheese.
Fill the olive bowl. Drain the olives well, then add them to the bowl. Leave about a quarter-inch of headroom so a guest reaching in does not push brine over the lip.
Fill the nut bowl. Pour in the nuts and level the top. A small scoop or a shallow bowl with a lip works well for guests.
Add cheese and meat around the bowls. Fan slices out from each bowl in a curve, like spokes on a wheel, so the eye follows the line from the bowl outward. Keep at least one inch of clear board between the olive bowl and any cheese, brine travels.
Fill any gaps with crackers or fruit. Tuck them in so the board looks full, not crowded. Crackers go on the side of the board farthest from the olive bowl.
Match the pattern to the board shape. A round board reads best with a radial layout: put the olive bowl just off-center, the nut bowl opposite it, and fan everything else outward in wedges like a clock face. A rectangular board reads best with a grid: place the two bowls on diagonal corners, run a line of cheese down the center, and fill the four quadrants with meat, crackers, fruit, and nuts. A long skinny board (a 24-inch paddle, for example) works best as a linear run, olives at one end, nuts at the other, and the cheese and meat staged in between so the board tells a story from salty to sweet.
Build height in three tiers. Flat boards look flat. Put the olive bowl on the board, stack a small dish of nuts on top of a folded napkin or a thin coaster to raise it half an inch, and lean crackers against the cheese block. Three heights, board level, half-inch, and one-inch, are enough to make the spread read as styled rather than dumped.
A common mistake is placing olives directly on the board. The brine will soak in and stain the wood. A second common mistake is putting the nut bowl next to the olive bowl; the nuts pick up brine and go soft within an hour.
!Hands placing a small ceramic bowl of green olives and a bowl of mixed nuts on a hardwood serving board on a sunlit dining table
Keeping Brine and Moisture Off Your Wooden Board
Wood and brine do not mix well. Liquid can soak in, leave stains, and cause the wood to dry out or crack over time. Most guides stop at "pat the olives dry." That is not enough. Brine keeps weeping out of the olives for the length of the party, and nuts pull moisture out of the air and out of nearby wet ingredients.
Dry the olives in two stages. First, drain the jar into a colander and let the olives sit for five minutes. Second, spread them on a double layer of paper towels and pat the tops dry. Olives that still look glossy will drip.
Use a drainage layer under the olives. Put a few folded paper towels, a thin linen napkin, or a small perforated insert in the bottom of the ramekin before adding the olives. The layer catches brine that settles, so it never reaches the lip of the bowl. Change the liner halfway through a long party if the bowl starts to look wet.
Keep the bowl lip above the board surface. A ramekin with a lip that sits flush against the wood will wick moisture into the grain. Set the bowl on a small coaster, a thin cork trivet, or a folded napkin so any drip lands on the coaster and not the board.
Separate wet and dry zones. Place the olive bowl on one side of the board and keep crackers, breadsticks, and nuts on the other side, with the cheese and meat acting as a buffer in the middle. Never put crackers directly next to the olive bowl, they will pull brine out of the air and go stale within an hour.
Watch the nuts, too. Nuts are dry, but they absorb moisture from nearby cheese, fruit, and the air. Keep the nut bowl away from cut fruit and soft cheese, and refill from a sealed container rather than topping off a bowl that has been sitting out.
Protect the wood itself. A board that has been conditioned recently resists moisture far better than a dry one. Wipe the board with a damp cloth and dry it immediately after the party, then wash by hand with mild soap and warm water. Our board glaze is made for this step. For more tips, read our guide on preventing wooden boards from cracking.
Watch out: a board that looks dry on the surface can still be wet underneath. If the board feels cool or heavy after washing, it has taken on water, let it air-dry for a full 24 hours before conditioning, or the oil will trap the moisture inside.
The article breaks down the main moisture-control steps and how long each one takes.
Step | What to do | Time or frequency |
Drain olives | Drain into a colander, then rest | 5 minutes |
Dry olives | Spread on paper towels and pat dry | Before serving |
Pre-serve rest | Sit in bowl, pour off brine | 10 minutes |
Air-dry board | Stand on edge after washing | 24 hours if wet |
Condition wood | Apply board conditioner after drying | Every few weeks |
Pairing Olives and Nuts With Meats, Cheeses and Crackers
Olives and nuts pair well with salty and creamy foods, and when you arrange olives nuts alongside rich cheeses and cured meats, the flavors balance each other.
Olives: Pair with sharp cheeses like aged cheddar, and with salami or prosciutto
Almonds and walnuts: Pair with soft cheeses like brie, and with fig jam
Pecans and cashews: Pair with goat cheese and honey
Crackers: Choose plain or lightly seasoned crackers so they don't compete with the olives
Place pairings near each other on the board so guests can build a bite in one reach.
Charcuterie Board Ideas for Party Spreads
Themes make a board easier to plan and more fun to look at. Here are three ideas that feature olives and nuts.
Mediterranean board: Green and kalamata olives, feta, hummus, and pita chips
Autumn board: Candied pecans, sharp cheddar, apple slices, and dried figs
Classic board: Mixed nuts, aged gouda, prosciutto, and water crackers
For a larger spread, add a second board or extra bowls. Plan one bowl of olives and one of nuts per 8 to 10 guests.
How to Make a Charcuterie Board Out of Wood at Home
You can build a simple wooden board at home with a few basic tools. Choose a hardwood like maple, cherry, or walnut. These woods are tight-grained, which helps them resist moisture.
Cut your hardwood to the size you want, usually 12 to 18 inches.
Sand the surface with progressively finer grit paper, ending at around 220 grit.
Round the edges so they feel smooth in the hand.
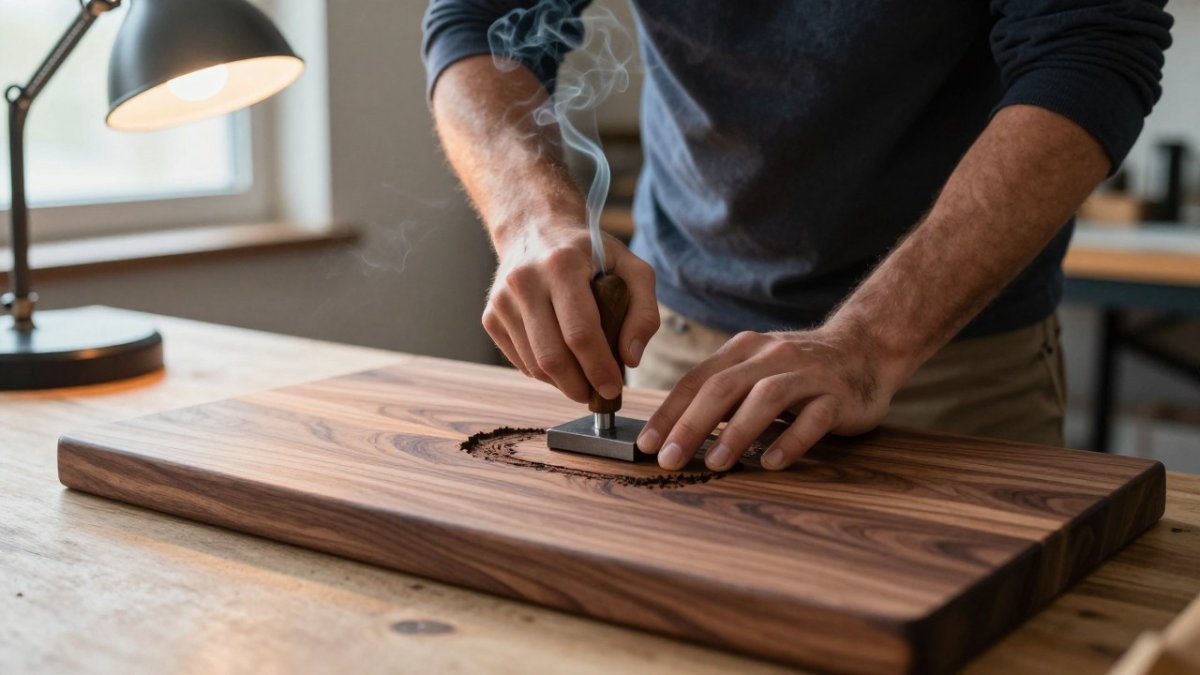
Apply food-safe mineral oil and let it soak in overnight.
Finish with a board conditioner before using.
Wood boards need regular care. Oil the surface every few weeks and after each deep wash.
Planning Your Next Board With Unhinged Woodworks
Olives and nuts need their own space, the right bowls, and a dry surface. Keep those three things in mind and your board will look good and taste great from start to finish.
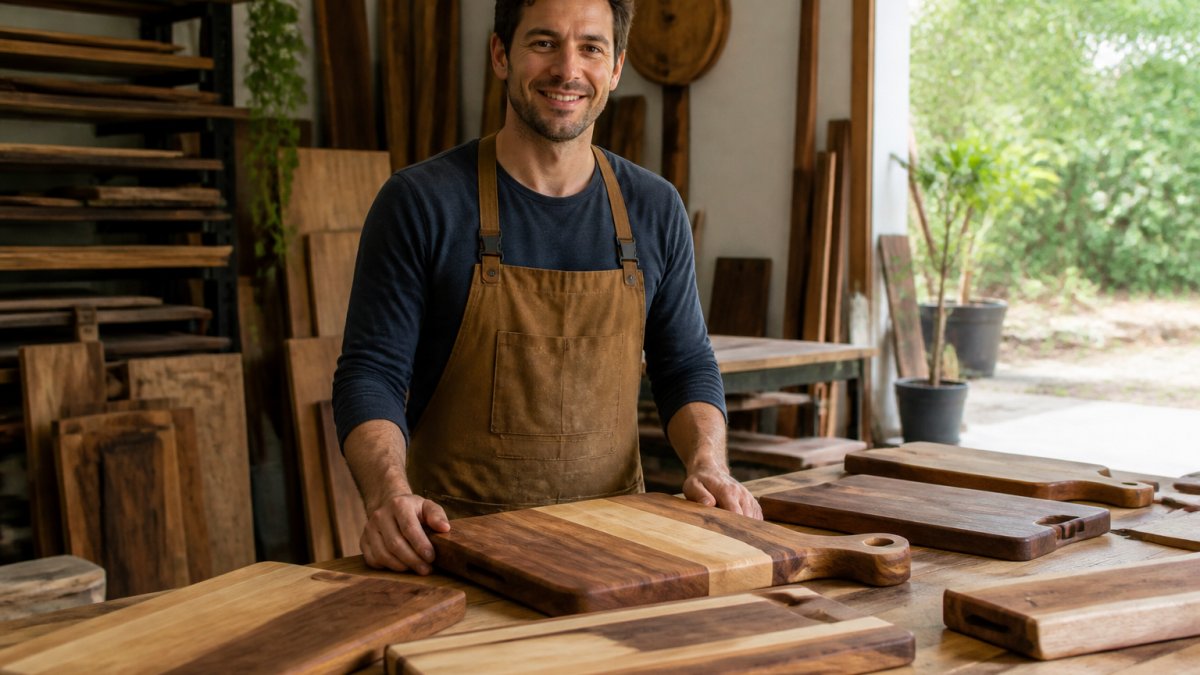
At Unhinged Woodworks, we craft our serving pieces by hand from hand-selected hardwoods, finished with food-safe adhesives and conditioners. Explore our charcuterie boards and find the right piece for your next gathering.
Frequently Asked Questions
How do you display olives on a charcuterie board?
Put olives in a small bowl or ramekin rather than loose on the wood. Olives release brine, which can stain and soak into an unsealed board, so a container keeps liquid contained. Place the bowl near the middle or upper third of the board, then surround it with meats and cheeses so guests can reach it easily. Drain olives well before serving, and keep a small spoon or pick beside the bowl for guests to use.
Where should nuts go on a charcuterie board?
Nuts work best in their own small bowls or spread in clusters across the board, away from wet items like olives or fresh fruit. Place them in the gaps between cheeses and meats so they add color and texture. Keeping nuts separated from the olives also prevents brine from softening them. Use a mix of shapes and colors, such as almonds, pistachios and walnuts, to make the arrangement feel balanced.
What nuts pair well with olives on a grazing board?
Marcona almonds, candied pecans, pistachios and roasted walnuts all pair well with olives. Their rich, buttery or slightly sweet flavors balance the salty, briny taste of olives. Choose one or two varieties rather than many, so guests can taste the difference. Roasted and lightly salted nuts work well, but avoid heavily seasoned nuts that compete with the olives.
How do you keep olive brine off a wooden charcuterie board?
Drain olives thoroughly and serve them in a sealed or lipped bowl so brine cannot run onto the wood. Pat olives dry with a paper towel before placing them on the board. Wipe up any spills right away with a dry cloth. Apply a food-safe board conditioner regularly, since a well-conditioned surface resists staining and absorbs less moisture over time.
Comments