
8 Table Setting Layouts for Formal Dinners That Impress

Last Updated: October 25, 2026
Quick Summary
The best formal table setting layout divides the table into five zones: a center line for the centerpiece, left and right flanks for plates and flatware, and upper corners for glassware and the bread plate. Allow about 24 inches of table width per guest, with the plate one inch from the table edge.
Set forks on the left flank and the knife and spoon on the right, with the charger one inch from the table edge.
Arrange the place setting like a clock face: bread plate at ten o'clock and glasses at two o'clock.
Place silverware outside-in so the fork farthest from the plate is used first.
Clear the charger with the main course plate, not before, to avoid crowding the setting.
For eight or more guests, shorten the centerpiece and use two smaller boards instead of one long piece.
Table of Contents
How to Set a Formal Dinner Table: The Five Zones
A formal table setting divides the table into five zones, and once you see the zones, the whole formal table setting becomes simple. At Unhinged Woodworks, we build serving pieces for hosts who care how the table looks, and we have learned that the best table setting layout for formal dinners starts with a map, not a pile of forks. This guide gives you that map, plus the measurements, course order, and glassware rules that make it work.
The five zones are:
Zone 1: The center line for the centerpiece and serving pieces
Zones 2 and 3: The left and right flanks for plates and flatware
Zones 4 and 5: The upper corners for glassware and the bread plate
Set the zones in order and you will never wonder where a fork belongs again.
Zone 1: The Center Line
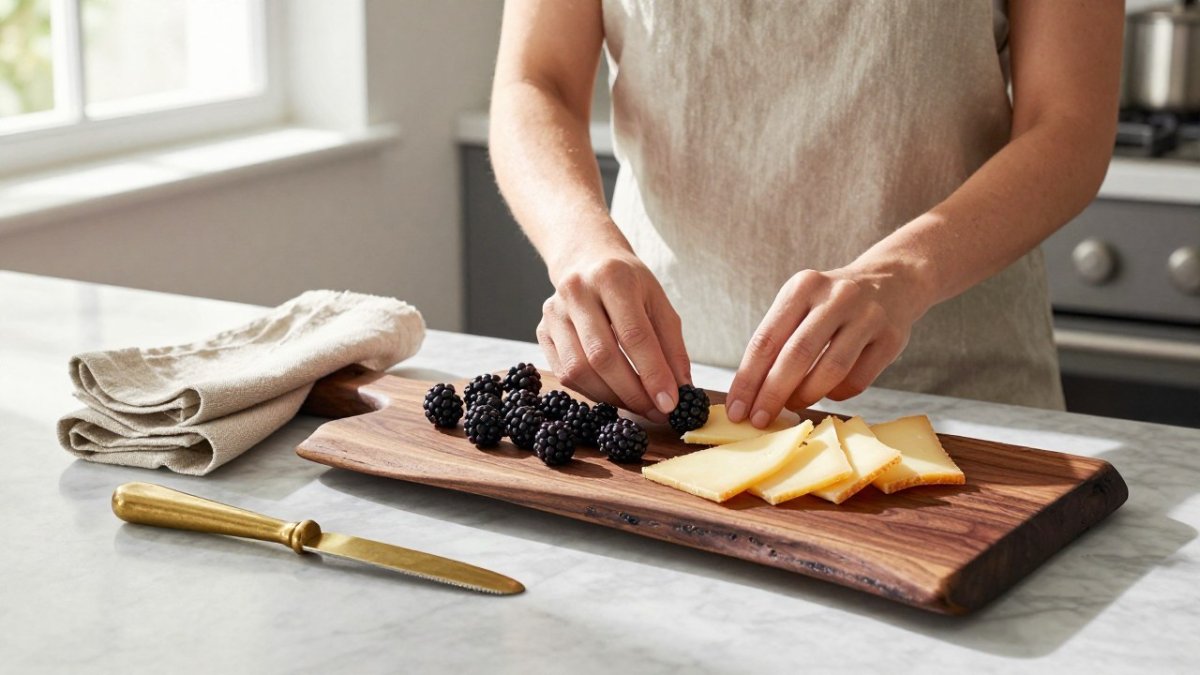
The center line runs down the middle of the table and holds the centerpiece. Keep it low so guests can see each other. A wooden serving board works here because it anchors the eye without blocking conversation. Leave room between the centerpiece and the place settings for serving dishes.
Zones 2 and 3: Left and Right Flanks
The left flank holds forks. The right flank holds the knife and spoon. The dinner plate or charger sits in the center of each place setting, about one inch from the table edge. This is the classic table setting foundation, and everything else builds from it.
Zones 4 and 5: The Upper Corners
The upper-left corner holds the bread plate and butter knife. The upper-right corner holds the glasses. Think of the place setting as a clock face: bread at ten o'clock, glasses at two o'clock. That single image solves most placement questions before they start.
Your Formal Place Setting Diagram: Measurements and Spacing
A formal place setting needs about 24 inches of table width per guest, measured center to center. The plate sits one inch from the table edge. Forks go to the left of the plate, and the knife and spoon go to the right.

Labeled Overhead Layout
Picture the place setting as a grid centered on the charger. Every element below is measured from the charger's rim, not from the table edge, so the spacing holds even if your charger is larger or smaller than the standard 12-inch size.
Element | Position relative to charger | Spacing |
Charger or dinner plate | Center of setting | 1 inch from table edge |
Dinner fork | Left of charger | 1 inch from charger rim; tines up |
Salad fork | Left of dinner fork | 1 inch to the left of the dinner fork |
Dinner knife | Right of charger | 1 inch from charger rim; blade facing the plate |
Soup or teaspoon | Right of knife | 1 inch to the right of the knife |
Bread plate | Upper left | 2 inches above the fork tips; butter knife on the plate, blade facing left |
Water glass | Upper right | 2 inches above the knife tip, closest to center |
Wine glasses | Upper right | Fanned to the right of the water glass, 1 inch apart |
Dessert fork and spoon | Above charger | Horizontal, 1 inch above the charger; fork handle left, spoon handle right |
Napkin | On charger or left of forks | Folded, crease facing the guest |
Two spacing rules do most of the work. First, keep a full inch between the charger and the flatware on both sides so the setting reads as deliberate rather than crowded. Second, leave 2 inches of clear table between the top of the flatware and the glassware or bread plate so a guest's hand has room to reach a glass without knocking a fork.
Pro Tip Measure once with a ruler, then cut a 24-inch strip of painter's tape and mark the center of each place setting along the table edge. Lay the tape down before you set anything; it turns a fussy layout into a repeatable one and peels off cleanly from finished wood.
Printable Place-Setting Checklist
Use this checklist for each seat before guests arrive. It doubles as a planner: check only the items your menu requires, and the setting stays as simple as the meal.
Charger centered, 1 inch from table edge
Dinner fork 1 inch left of charger
Salad fork outside the dinner fork (only if salad is served first)
If your table is tight, drop to 22 inches per guest before you drop the charger. Crowded settings look worse than simple ones, and a 22-inch setting with fewer glasses still reads as formal.
Where to Place Silverware on a Table: The Outside-In Rule
Silverware goes in the order you will use it, working from the outside in. The fork farthest from the plate is used first. The knife closest to the plate is used last.
A formal place setting rarely needs more than three forks and three knives. More than that reads as clutter, not elegance. Here is the standard order:
Left of plate, outside in: salad fork, dinner fork
Right of plate, inside out: dinner knife, then spoon
Above the plate: dessert fork and dessert spoon, set horizontally
The butter knife rests on the bread plate, blade facing left. That small detail is one of the most common mistakes we see at dinner parties.
Table Setting for Multiple Courses: Build, Serve, Clear
Table setting for multiple courses follows a simple rhythm: build the setting for the first course, then add and remove as you serve. You do not need every utensil on the table at once. The trick is to map your menu to utensils before the guests arrive, so the outside-in order does the work for you.
Map the Menu to the Utensils
Work backward from the menu. For each course, name the utensil a guest will pick up first, then place utensils outside-in in the order they will be used. A common pattern for a four-course dinner:
Course | Utensil used | Where it sits |
Soup | Soup spoon | Right of the knife, farthest right |
Salad | Salad fork | Left of the dinner fork, farthest left |
Main | Dinner fork and dinner knife | Closest to the charger |
Dessert | Dessert fork and spoon | Horizontal above the charger |
Read the setting from the outside in and the guest never has to think: the outermost fork is the salad fork, the outermost spoon is the soup spoon, and the utensils nearest the plate are for the main course. If you drop the soup course, drop the soup spoon; if you serve salad after the main, move the salad fork to the dessert position or bring it out with the plate.
Build, Serve, Clear, Course by Course
Before guests sit: Set the charger, the flatware for every course except dessert, the bread plate, and the glasses you will actually pour. Hold dessert utensils above the charger or in the kitchen.
Soup: The soup spoon is already in place. Clear the bowl and spoon together when the course ends.
Salad: The salad fork is already in place. Clear the plate and fork together.
Main: The dinner fork and knife are already in place. Clear them with the plate; this is the moment to remove the charger if you used one, since the charger is a base for the first courses, not the main.
Dessert: Bring the dessert fork and spoon down from above the charger, or set them just before serving. Clear them with the dessert plate.
Key Takeaway The charger is cleared with the main course plate, not before. Leaving it under the dinner plate through the main course is a common mistake; it crowds the setting and makes the plate sit too high.
When to Add and When to Hold Back
Set fewer utensils and add as needed if you are unsure how many courses you will serve. Hosts who plan a full menu can map each course to its utensil before the guests arrive, which is faster than rearranging a crowded setting mid-meal.
For the broader hosting timeline that wraps around this table work, see our guide on how to host elegant dinner parties.
Glassware Placement by Beverage, From Water to Dessert Wine
Glasses cluster at the upper right, above the knife, and they follow a fixed order. The water glass sits closest to the center. Wine glasses fan out to the right in the order they will be used.
The standard arrangement:
Water glass: closest to the plate, slightly left of the wine glasses
White wine glass: to the right of the water glass
Red wine glass: largest, farthest right
Set only the glasses you will actually pour. Place a coaster under each glass if your table finish needs protection, and keep a matching set within reach so guests can move drinks to the side table.
Adapting the Layout for Table Size, Shape, and Guest Count
The layout flexes with the table. A round table of six works with the same five zones, just rotated around the curve. A long rectangular table needs the center line kept narrow so place settings on both sides have room.
For larger groups:
Eight or more guests: shorten the centerpiece and use two smaller boards instead of one long piece
Banquet-style seating: keep 24 inches per guest and skip the charger to save space
Buffet service: set the place setting simply and put serving pieces on a side table
The rule of thumb: protect the guest's elbow room first, then decorate. A beautiful table that guests cannot eat at is a failed table.
Left-Handed and Accessible Place Settings
Left-handed guests get a mirrored setting: forks on the right, knife and spoon on the left. It takes ten seconds and it matters to the person eating.
For accessibility:
Leave more space between settings for guests using mobility devices
Keep the centerpiece low for guests who are seated
Place the napkin where it is easy to reach, not tucked under heavy plates
A formal table should welcome everyone at it. Small adjustments cost nothing and show care.
Choosing the Wooden Centerpiece That Anchors Your Table
The centerpiece is where the formal table earns its character, and a wooden serving board is the most versatile anchor you can buy.
When choosing one, match the wood to the table. Black walnut brings deep color and works on light tables. Cherry warms over time and suits traditional rooms.
Size matters more than most hosts expect. A board that is too long crowds the place settings.
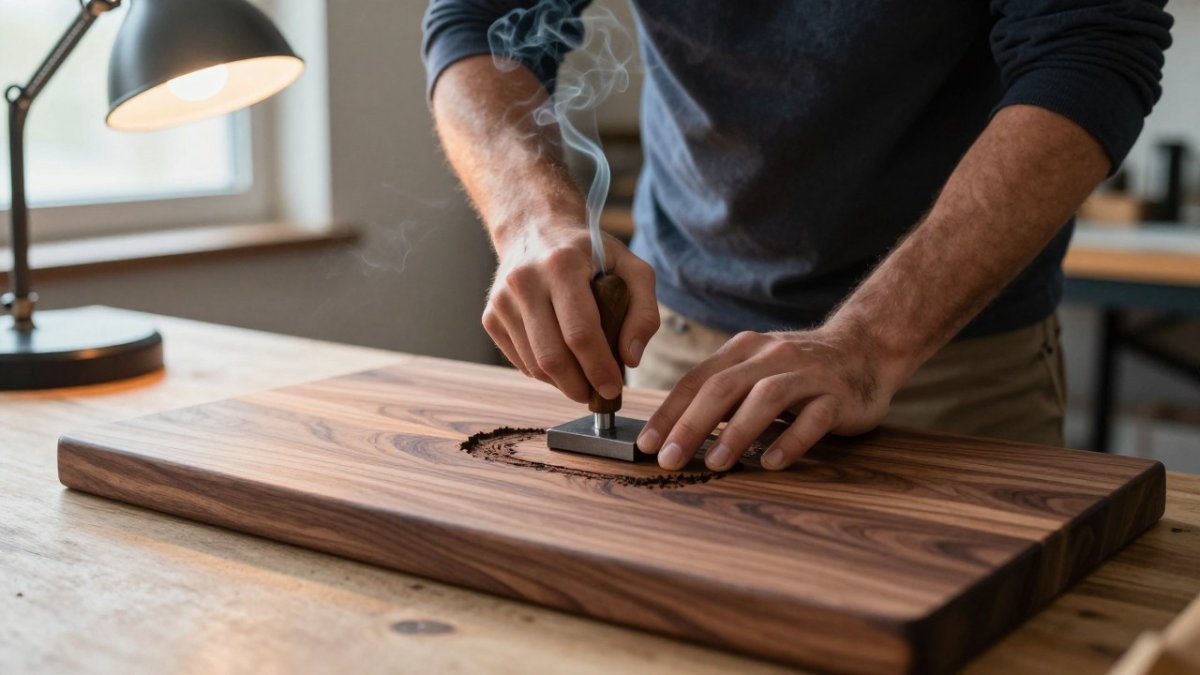
At Unhinged Woodworks, we hand-select and grain-match each hardwood board, finish it with food-safe adhesives and conditioners, and offer custom engraving for weddings, anniversaries, and housewarmings. For styling ideas that pair with your board, read our guide on how to style a charcuterie board, browse luxury kitchen serving boards for hosting, or shop our full service boards collection to find the right size for your table.
Frequently Asked Questions
How many pieces of silverware should be set at a formal dinner?
It depends on the menu, not the occasion. A typical formal dinner uses three to five pieces per guest: a dinner fork, salad fork, dinner knife, soup or dessert spoon, and a butter knife resting on the bread plate. Add a dessert fork or spoon above the plate only if dessert is served. The rule is one utensil per course, placed in the order it will be used, working from the outside in. Anything beyond five pieces per side crowds the setting and usually signals an over-planned menu.
Where does the napkin go in a formal table setting?
Fold the napkin and place it centered on the charger plate, or to the left of the forks if the first course is already plated. Cloth napkins should be ironed and folded so the open corner faces the guest. When guests sit, they unfold the napkin onto their lap; it stays there until the end of the meal. Avoid tucking it into a glass or under a fork, which reads as casual rather than formal.
Which way should the knife blade face in a place setting?
The knife blade always faces the plate, with the handle toward the guest's right hand. This is one of the few formal table setting rules with no regional variation in the United States. The dinner knife sits closest to the plate on the right side, with the spoon to its right. If you are setting a butter knife, it rests horizontally across the top of the bread plate with the blade facing inward.
What is the difference between a formal and informal table setting?
A formal setting includes a charger plate, three or more glasses, and a full complement of course-specific flatware. An informal setting drops the charger, uses one wine glass and one water glass, and limits flatware to what the meal actually requires. Formal settings also call for place cards, a centerpiece kept below eye level, and cloth napkins. Informal dinners can use the same outside-in flatware logic with fewer pieces and more flexibility on linens.
Setting a formal table well takes practice, and the details that impress guests are the ones most hosts skip: the outside-in silverware order, the glassware fan, the space between settings. Unhinged Woodworks builds the wooden pieces that anchor those tables, with hand-selected hardwoods, custom engraving, and a food-safe satin finish made to last for decades. Get started with Unhinged Woodworks and set a table your guests will remember.
Get Unhinged Today!@
Add unhingedwoodworks.com as a preferred source on Google →

Comments